HOW TO USE
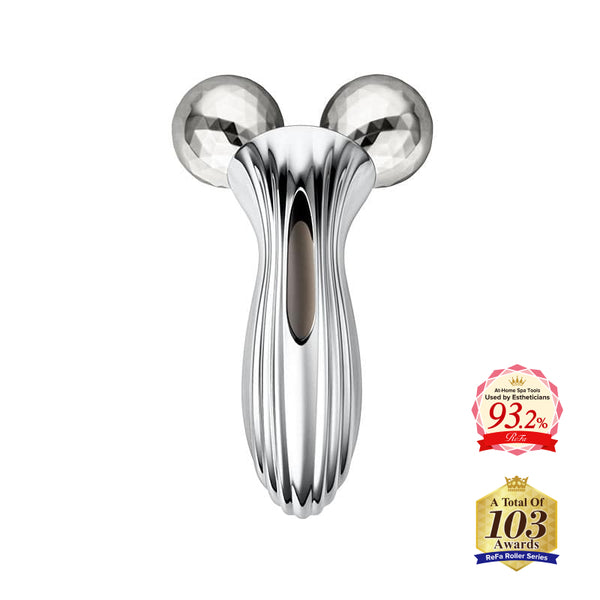
ReFa MOTION CARAT
Rolling Method
The strength with which the rollers pull up your skin can be adjusted by changing the angle at which you apply the rollers to your skin and the pressure of the rollers against your skin.

<When Pushing the Rollers Forward>
Gradually raise the end of the handle to increase the pull of the rollers. *If you feel any pain or discomfort, stop moving the rollers and slowly lift them away from your skin. |

<When Drawing the Rollers Back>
Gradually lower the end of the handle to increase the pull of the rollers. *If you feel any pain or discomfort, stop moving the rollers and slowly lift them away from your skin. |
Tips on Rolling
Roll in the direction indicated by the arrows and increase or decrease pressure in accordance with the thickness of the lines
 The photos provides in this manual are overlaid with the following arrows to show how and in which direction to roll over specific parts of the body for optimum results. |

1. Roll only in one direction
2. Roll in both directions 3. Use more force as you roll from the narrow to the wide end of the arrow |
Décolletage
For a beautiful décolletage and a supple-looking neckline
 Roll along the indentation beneath the collarbone |
 Roll up and down from the bottom of the head to base of the neck
|
Face & Head
For a more youthful and supple-looking face
 1. Roll back and forth along the jawline |
 |
 |
 |
 |
 |
Arm
For firmer and more contoured-looking arms
 Pressing against the fleshy of the hand, roll back and forth from the wrist to the little fingers.
*Do not place your fingers between the rollers. Doing so may result in injury. |
 |

Roll back and forth along the bottom of the upper arm from the elbow to the armpit
*Carefully adjust the angle and pressure of the rollers to avoid painful pinching of the skin. |
Chest
For a firmer, more supple and lifted-looking chest

Pressing down below the armpit, roll towards the center of the chest
|

Roll up and down from the ribs to the base of the chest
*Carefully adjust the angle and pressure of the rollers to avoid painful pinching of the skin. |
Waist
For a tighter-looking waist and midsection
 Roll up and down from the waistline to the base of the chest
*carefully adjust the angle and pressure of the rollers to avoid painful pinching of the skin.
|
 Roll back and forth in a diagonal motion from the navel to the outer abdominal muscles
*Carefully adjust the angle and pressure of the rollers to avoid painful pinching of the skin.
|
Legs & Feet
For a tighter-looking waist and midsection
 1. Roll back and forth over the entire sole of the foot
|
 |
 |
 |
 |
 |
For bathtime relaxation
Waterproof for safe use in the bath
*After use, shake out excess water and wipe with a soft cloth before storing
Assisted Rolling
Two people are better than one when it comes to effectively rolling areas that are hard to reach. We recommend assisted rolling for your shoulders and back.
 |
 |
 |
|
A Note on Assisted Rolling
The hand not holding the device must stay in constant contact with the person’s skin
*Microcurrent will not be circulated of there is no physical contact.
Featured product

MTG Pacific
ReFa MOTION CARAT
Crafted on 360 multiangular technology, the flexible head of the ReFa MOTION CARAT moves as you roll to more precisely fit every curve and contour of your skin.
The deep Drainage rollers replicate a complex deep kneading massage that reaches deeper muscle layer for a lifted, tightened facial contour.